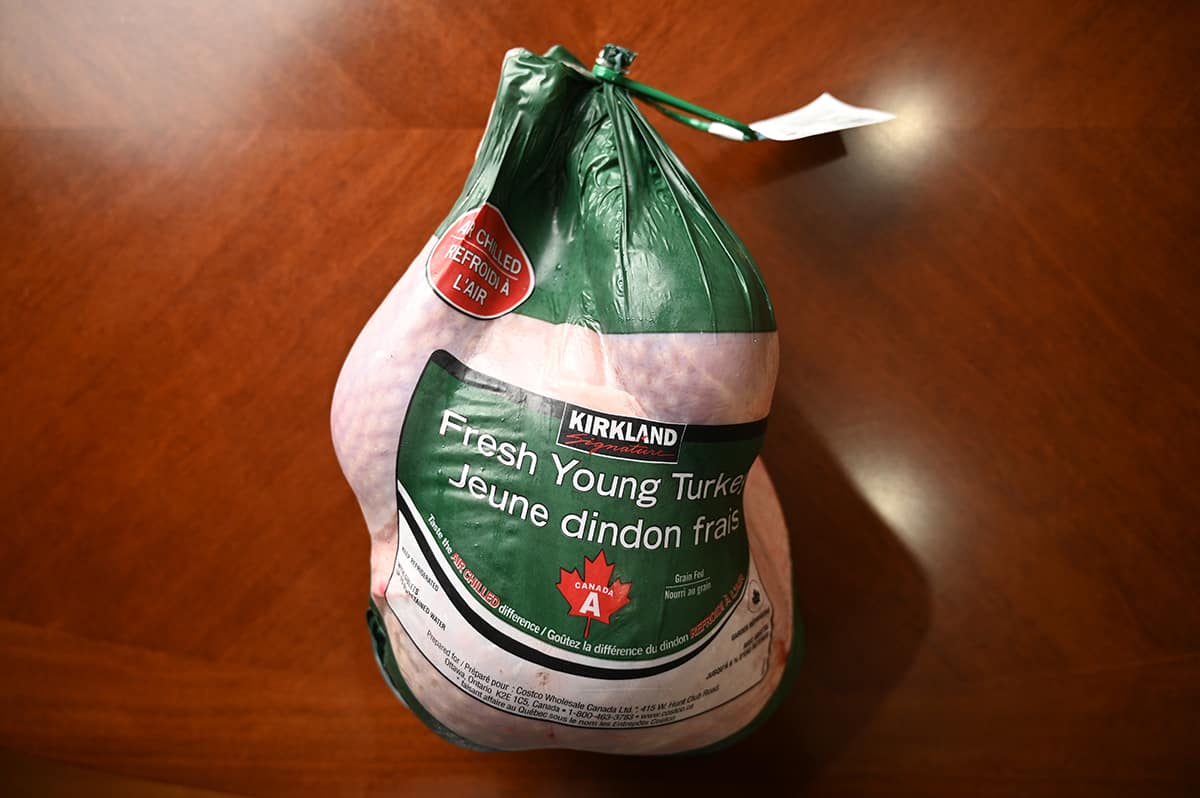
If you’re looking for a turkey for your holiday meal, Costco has you covered with this Kirkland Signature Fresh Turkey. We picked one up for our Christmas dinner and decided to deep fry it. Read on to find out what I thought of the turkey, how our first attempt at deep frying a turkey went and instructions on how to deep-fry your own turkey at home!
If turkey isn’t your favorite thing to have on Christmas, Thanksgiving or Easter, you could try the Kirkland Signature Spiral Sliced Ham, Kirkland Signature Master Carve Ham or the Kirkland Signature Beef Pot Roast.
Some sides to serve with turkey from Costco are the Kirkland Signature Mac and Cheese, Beecher’s World’s Best Mac and Cheese, Reser’s Main St. Bistro Baked Scalloped Potatoes, Johnny’s Au Gratin Potatoes and the Vicky’s Kitchen Cornbread Cranberry Stuffing, Kevin’s Turkey Gravy and the Stonemill Kitchen’s Organic Cranberry Sauce.
Location in Store
The fresh turkey comes out around the holidays like Christmas, Easter and Thanksgiving and can be found in the refrigerated meat section. The item number is 31073.
Taste
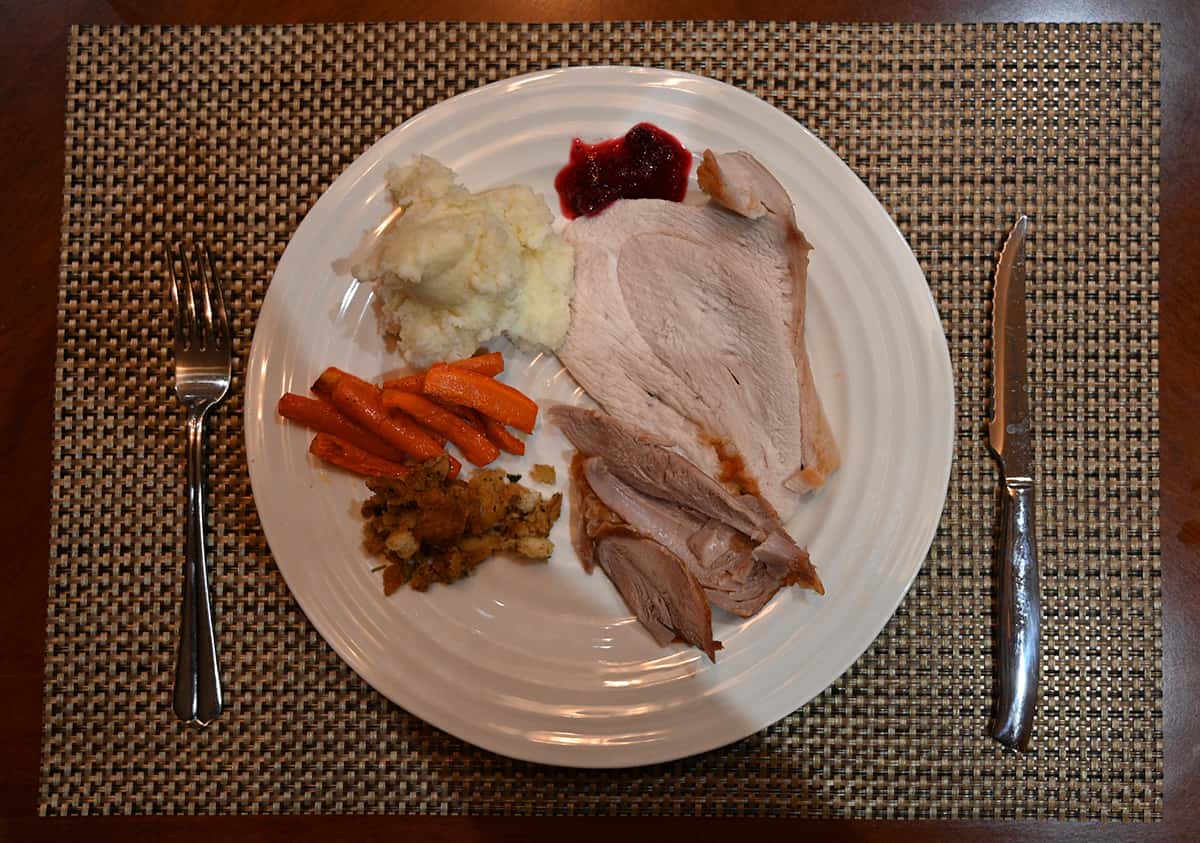
Everyone really enjoyed the turkey for Christmas dinner! It was moist, flavorful and tender. Sometimes I find turkey a bit dry and bland but not this one. It may be because my husband brined it before cooking it.
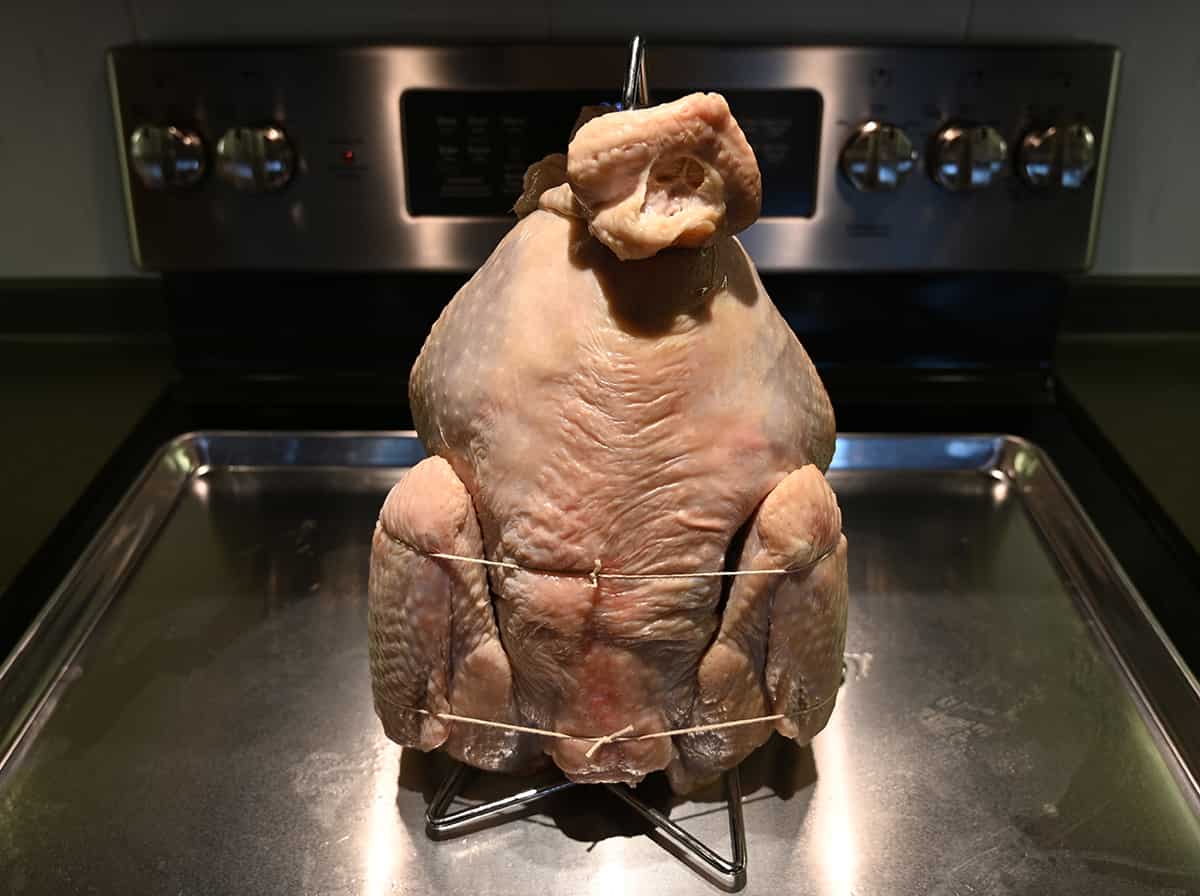
The turkey has both white and dark meat as well as all the giblets like the neck which we opted not to use. My Nanny used to love eating the neck as a kid and I used to think it was really weird, a bit gross and quite funny.
The white meat is definitely more dry and less fatty and moist than the dark meat. I think a lot of people prefer white meat but several people prefer dark as they find it more flavorful and moist.
Although we cooked the turkey in peanut oil there wasn’t a trace of peanut flavor. Also, I’ll add that one disappointing part about deep frying a turkey is that you cannot stuff it, I think stuffing adds to the overall flavor of a turkey so we missed out on that.
Cost
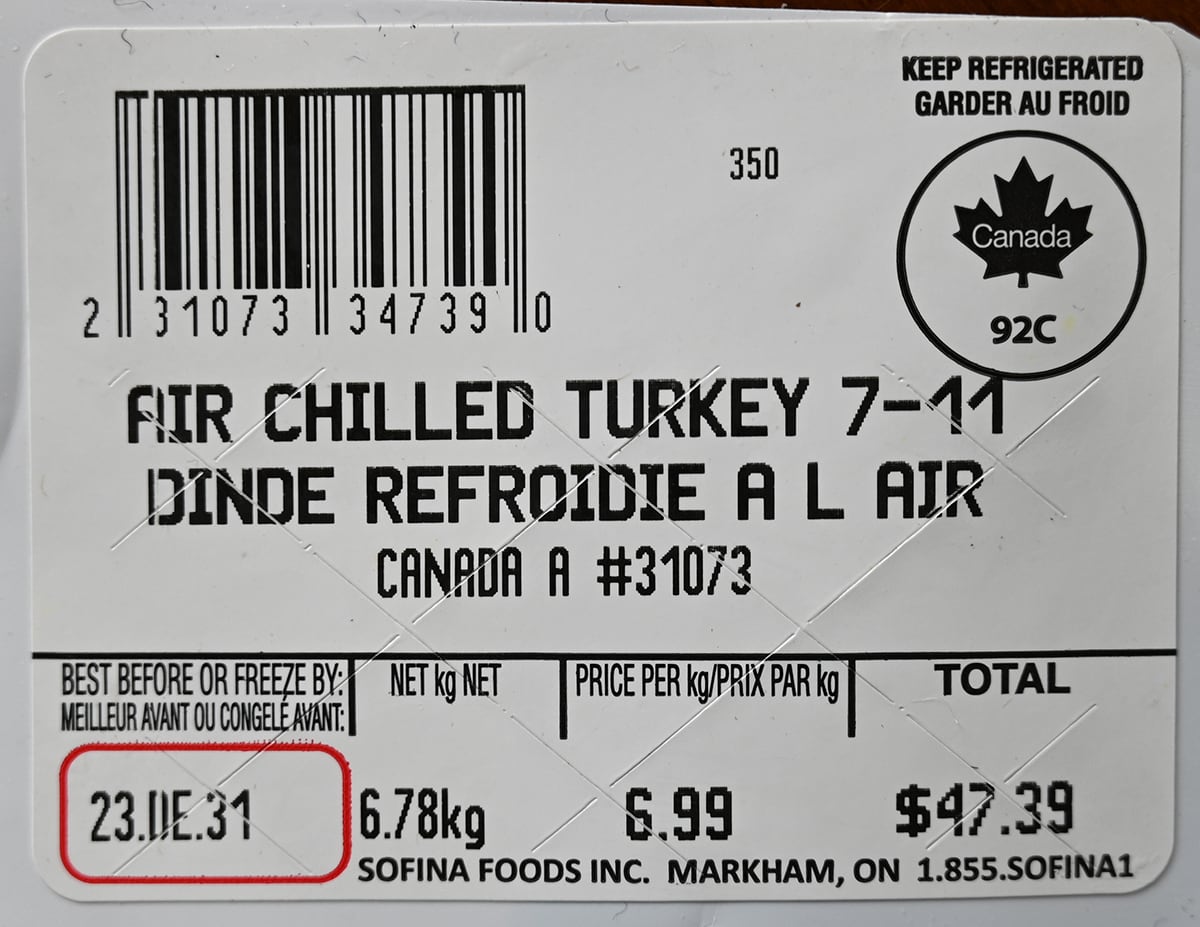
The fresh turkey costs $6.99 per kilogram and I paid $47.39 for my turkey that was just over 15 pounds.
Convenience
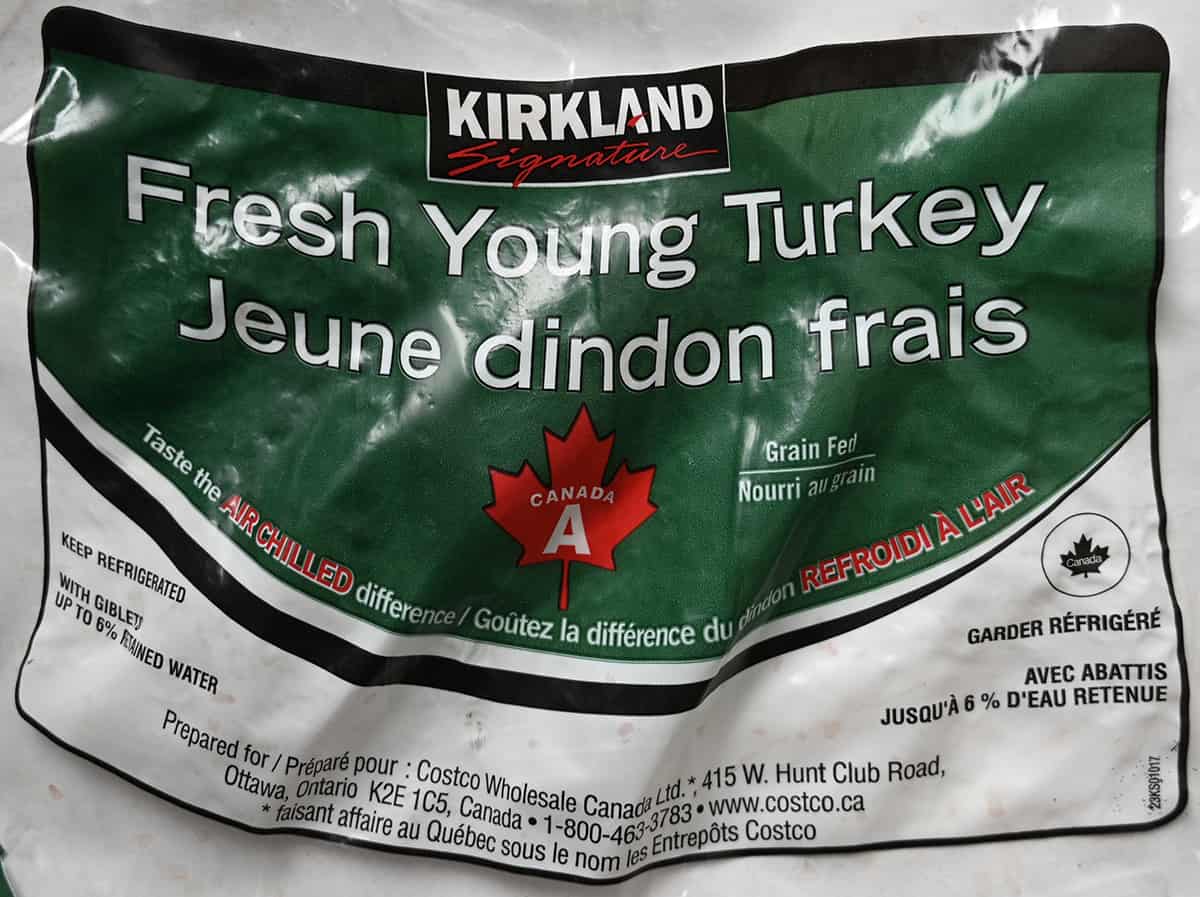
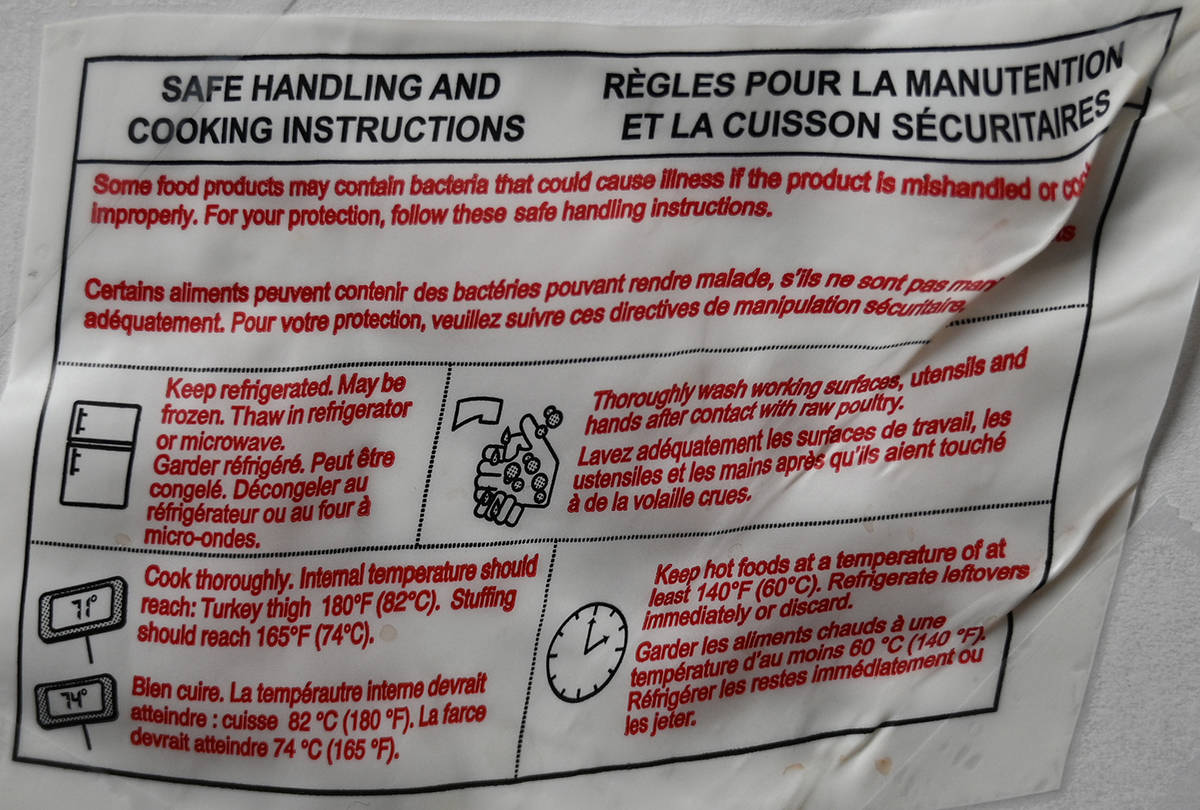
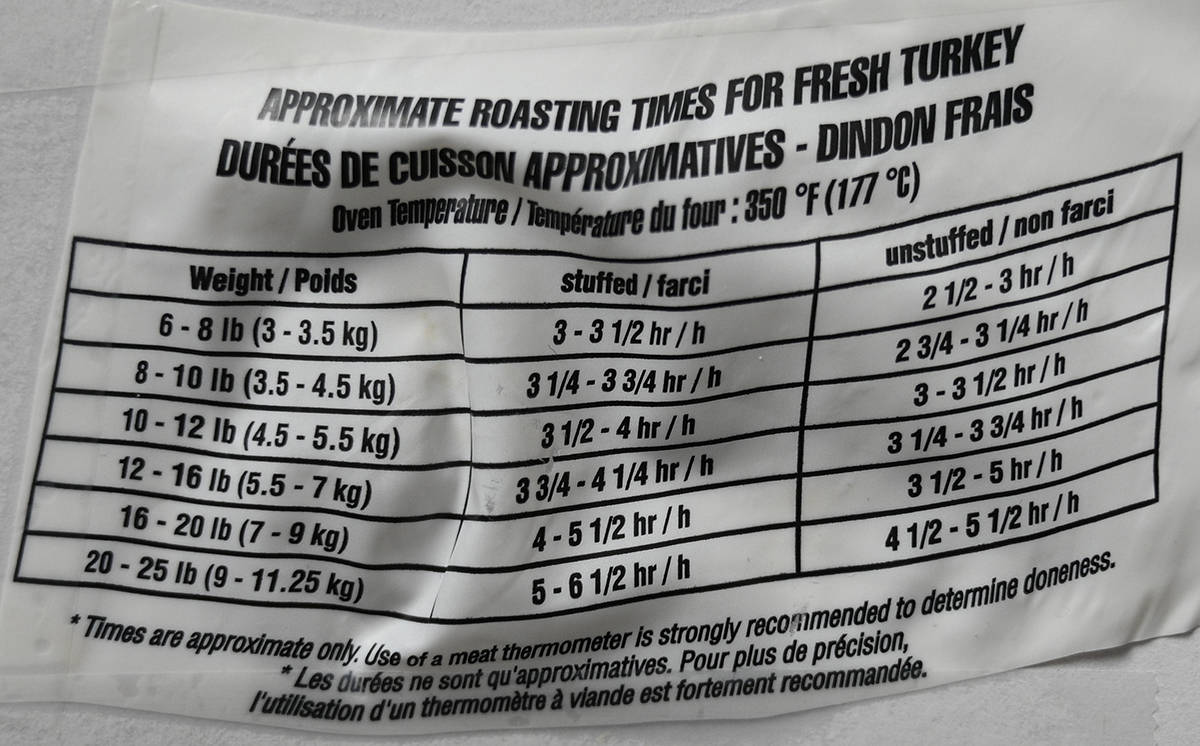
The turkey comes refrigerated and has been air-chilled. It needs to be kept refrigerated and the best-before date is about a week from when we purchased it. If you’re not going to use it right away I would absolutely freeze it way before the best-before date.
I’ve noticed lately a lot of people commenting about their meat products from grocery stores not making it to the best-before date. I’m not quite sure why this is but I always err on the side of caution and cook or freeze my meat as soon as possible.
Turkey goes well with stuffing, mashed potatoes, roasted vegetables, gravy, buns and cranberry sauce!
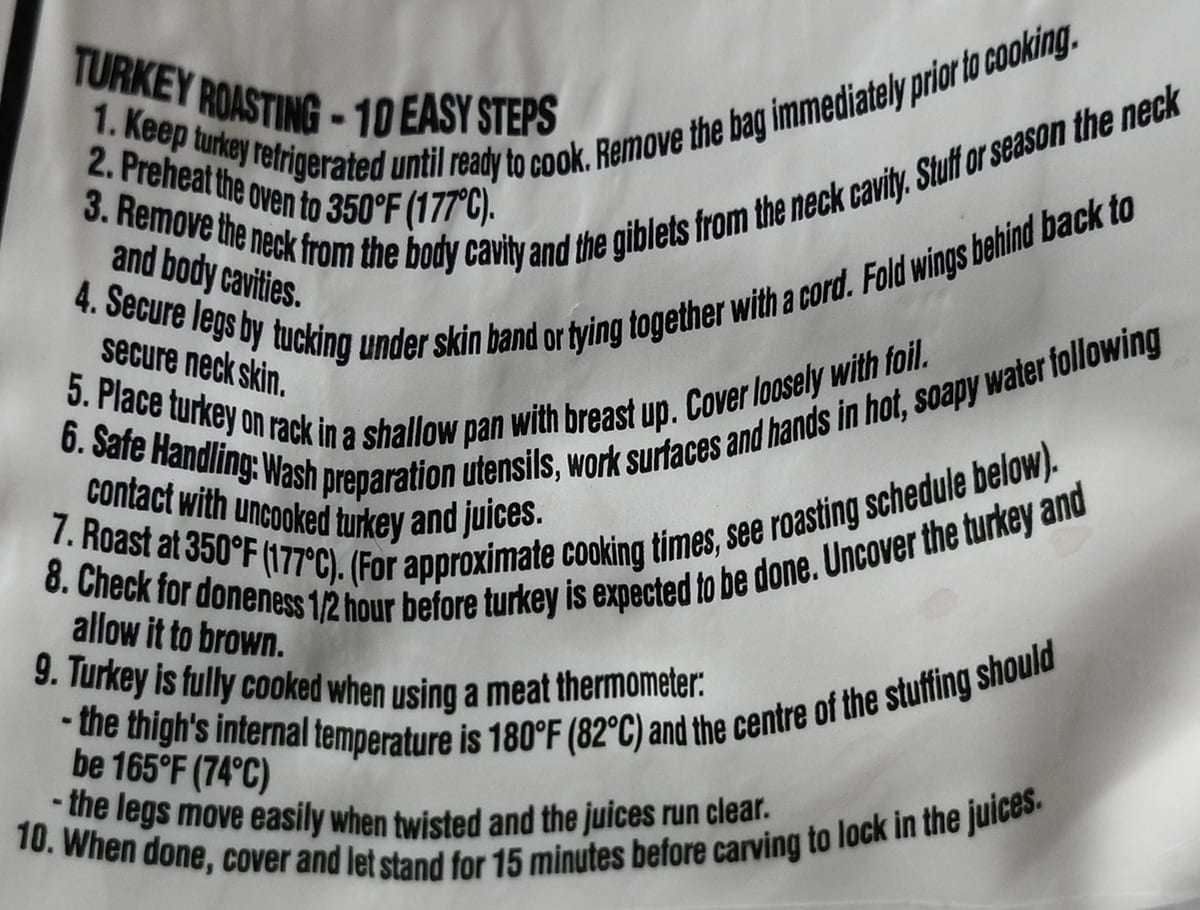
With all of that said, I don’t think anyone is buying a whole turkey thinking it’ll make a nice, easy meal. Cooking a turkey is a ton of work! In our case, my decided that we had to make it even more challenging for ourselves and try deep-frying our turkey, which is something we’ve wanted to try for years (at least eating a deep-fried turkey, less so actually deep-frying one!).
How I deep-fried my Costco turkey
You don’t have to look very hard to hear horror stories of turkey deep frying gone wrong. There are lots of videos out there if you’re curious. The most common method of deep frying a turkey (and the one that we planned to use) involves heating a big pot of oil to oven-like temperatures using a big propane burner, so you can imagine how it could easily go wrong!
We were determined to 1) avoid a call to the fire department on Christmas day and 2) deliver an edible turkey to the dinner table, so we did our homework.
Equipment
After doing a lot of research online and talking to a few people we knew who had done it before, we decided to brine our turkey and cook it in peanut oil. We ended up following this Alton Brown recipe pretty closely. The first step was to get all of the ingredients and equipment we’d need, which wasn’t a small task.
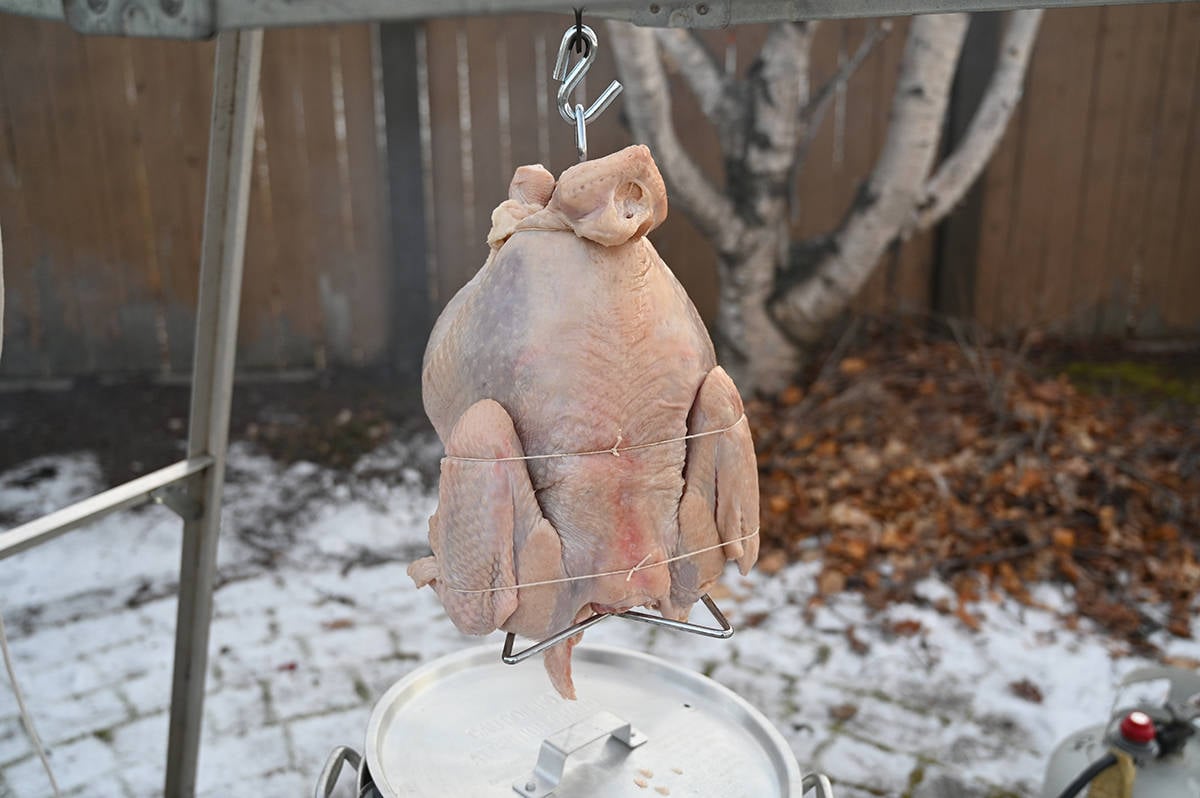
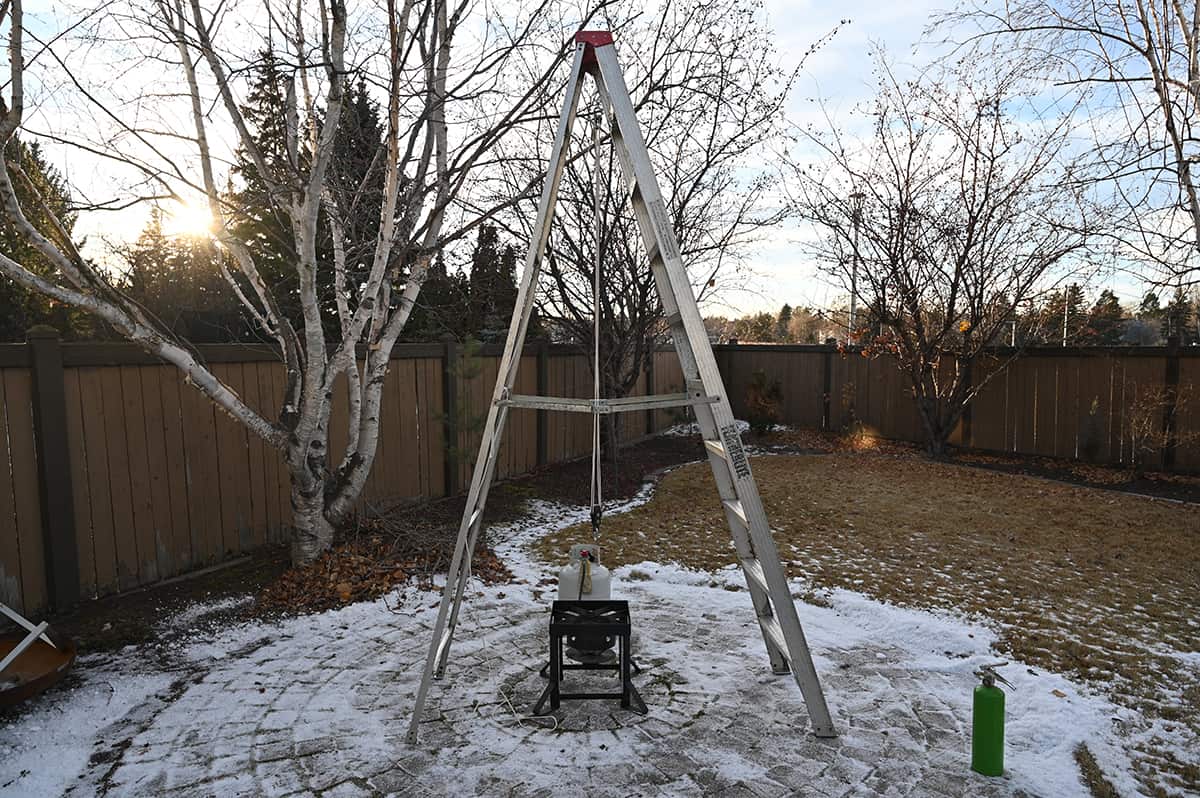
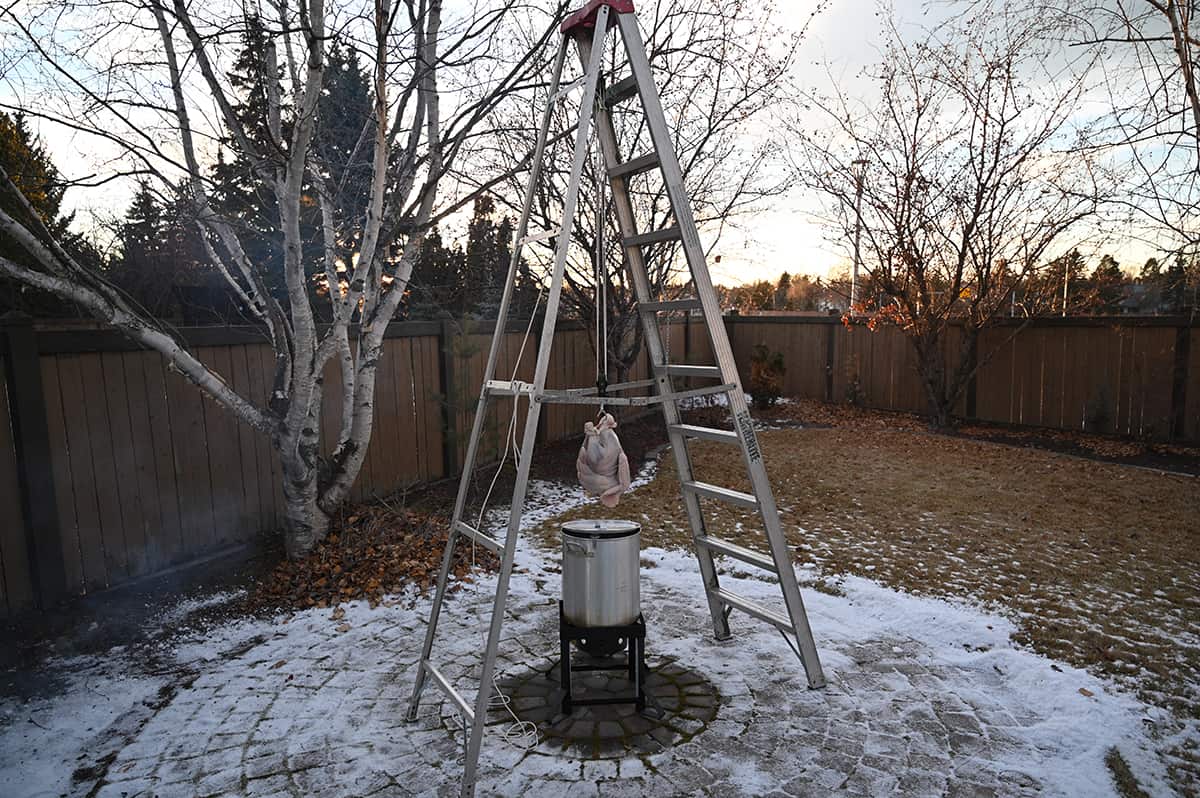
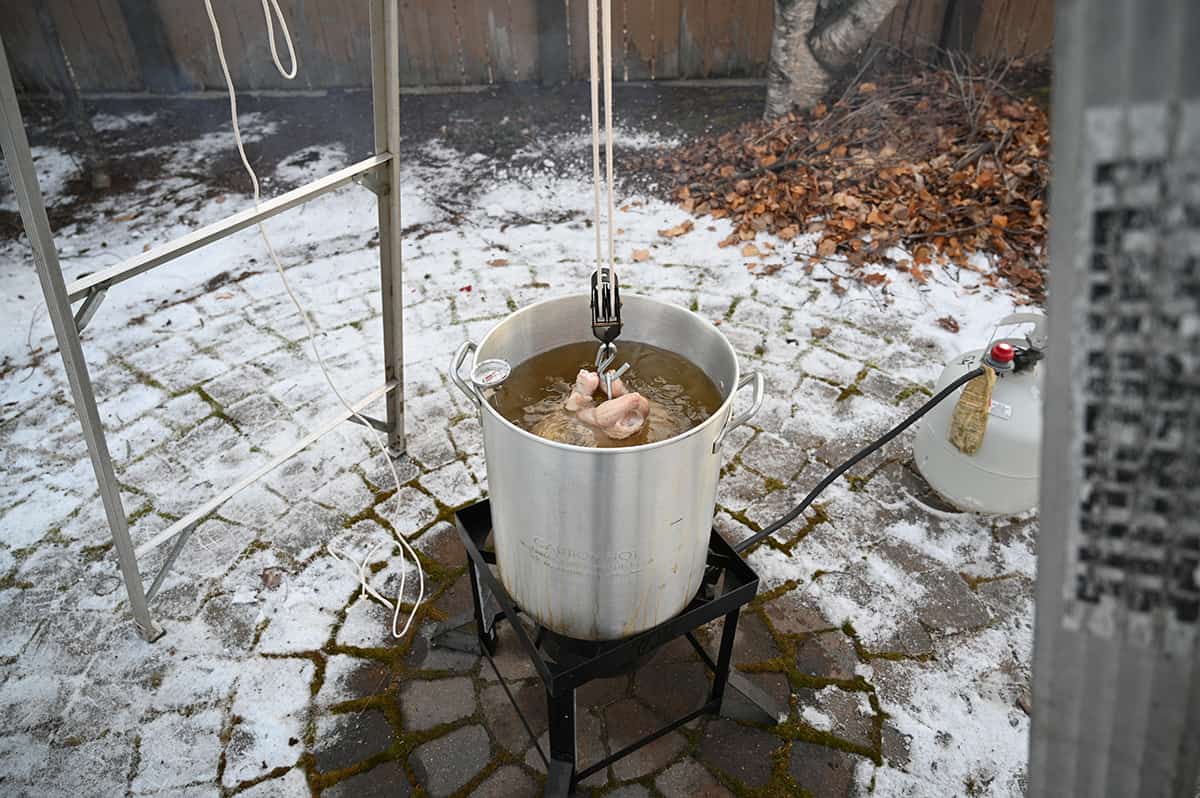
For equipment, we borrowed our turkey fryer from a friend who offered it to us. It came with a pot and a thermometer to measure the temperature of the oil. To get our turkey in and out of the oil, we took some inspiration from Alton Brown again and built a version of his turkey derrick.
We did it a bit differently – we used the pulley system from a gambrel hoist (for raising and lowering game). We took his advice to use cotton rope (since synthetic fibers can melt at high temperatures).
Ingredients
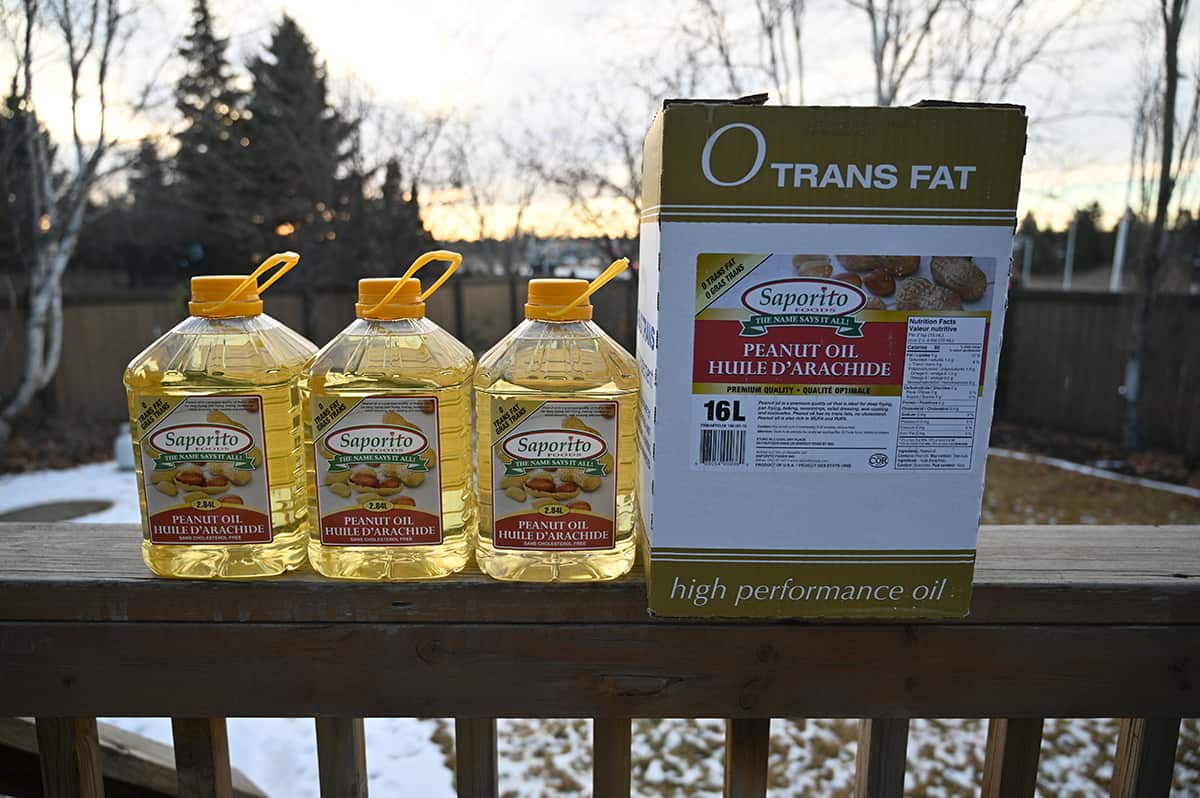
The ingredients were simple, but not cheap! The peanut oil came from our local Costco Business Center – their 16-liter containers seem to be about as cheap as it gets. We bought one of those and three 2.84-liter containers. The total cost of the oil was over $130! The 16-liter container cost $79.99 and the 2.84-liter ones cost $16.99.
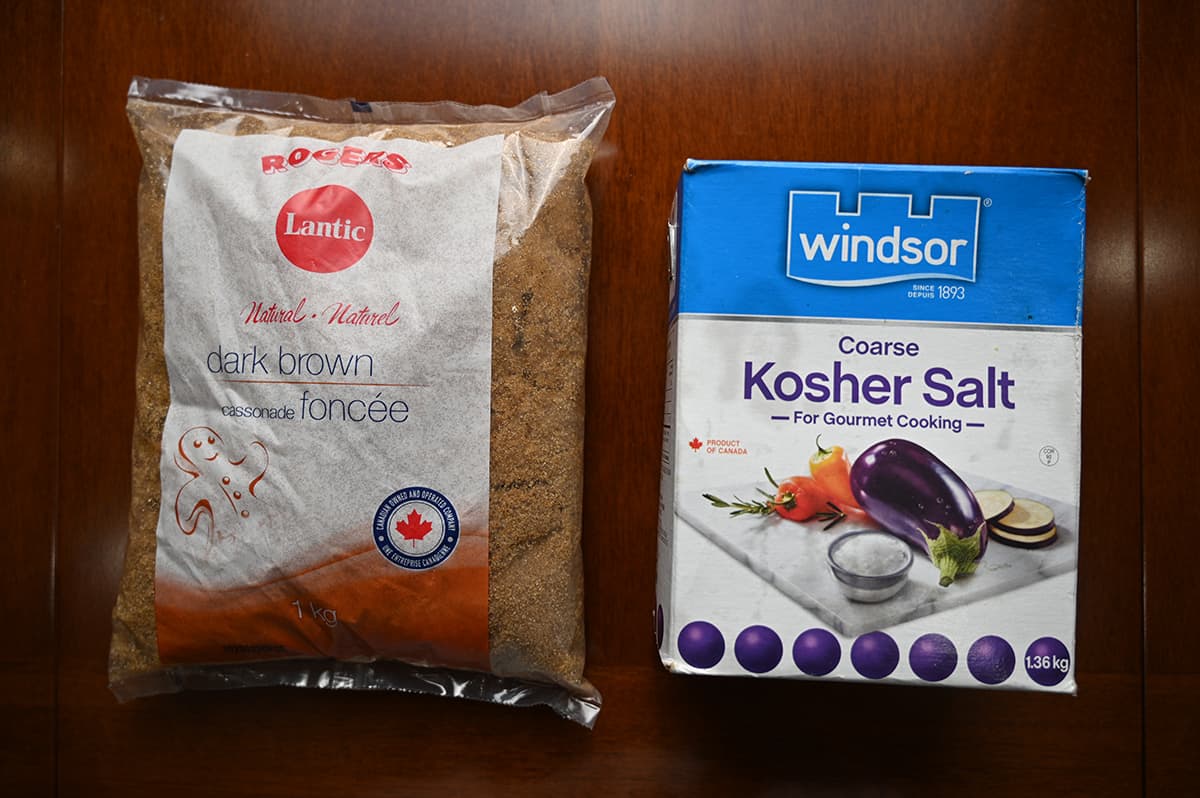
We only ended up using about one and a quarter of the smaller containers, but the oil still cost more than twice what our turkey did. The only other ingredients were for the brine – kosher salt, dark brown sugar and a bag of ice.
Supplies for Deep-Frying
Other miscellaneous equipment and supplies that we used were a giant baking sheet (from the Costco Business Center), good-quality oven gloves, butcher’s twine to tie up the turkey, a fire extinguisher (very important) and an instant-read thermometer for checking the temperature of the turkey.
Turkey Prep
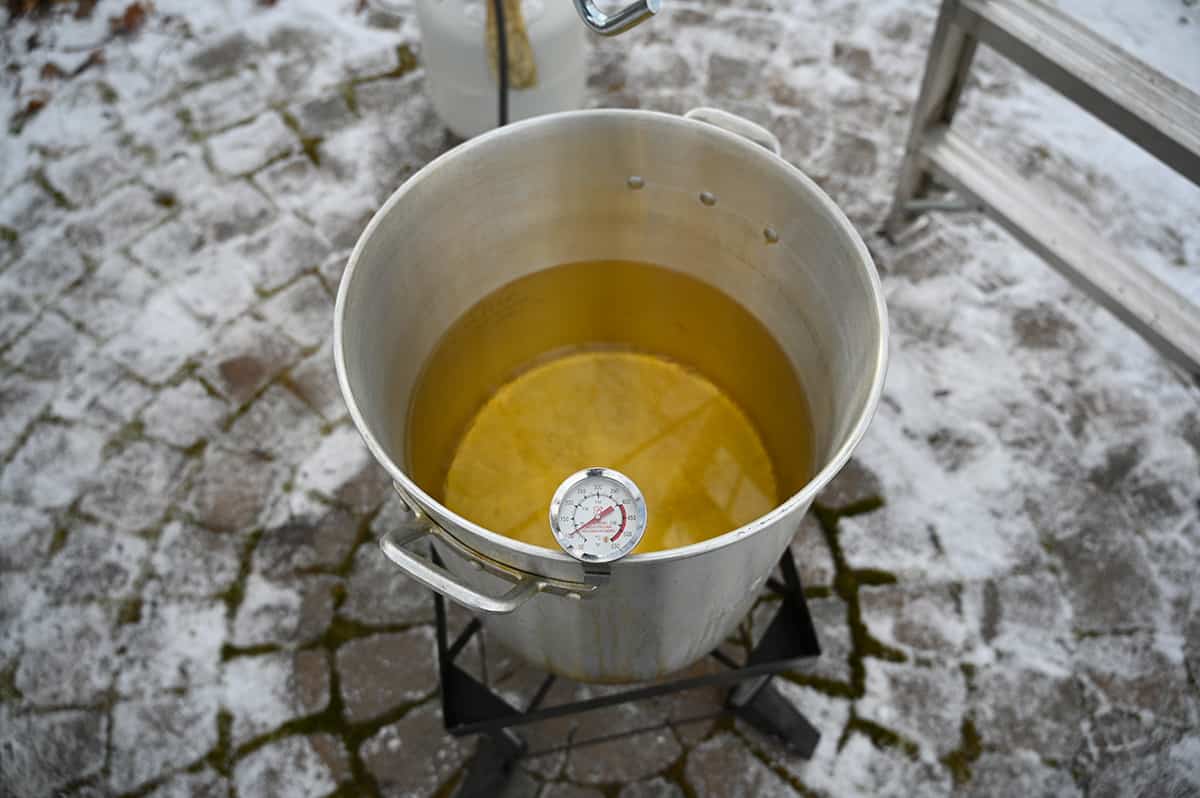
The first and probably most important step in prepping the turkey was to take the wrapped turkey, put it in the fryer pot and fill it with water until the turkey was covered but the water was a safe distance from the top.
Then we removed our turkey and used a tape measure to measure how far down from the top the water was. This gave us our oil fill level. Some people say to mark it with a marker or something, but that didn’t work for us.
We also measured the water as we emptied the pot to double-check the volume. This worked great. You absolutely need to do this as having too much oil in your pot is probably the worst mistake you can make.
How to Brine the Turkey
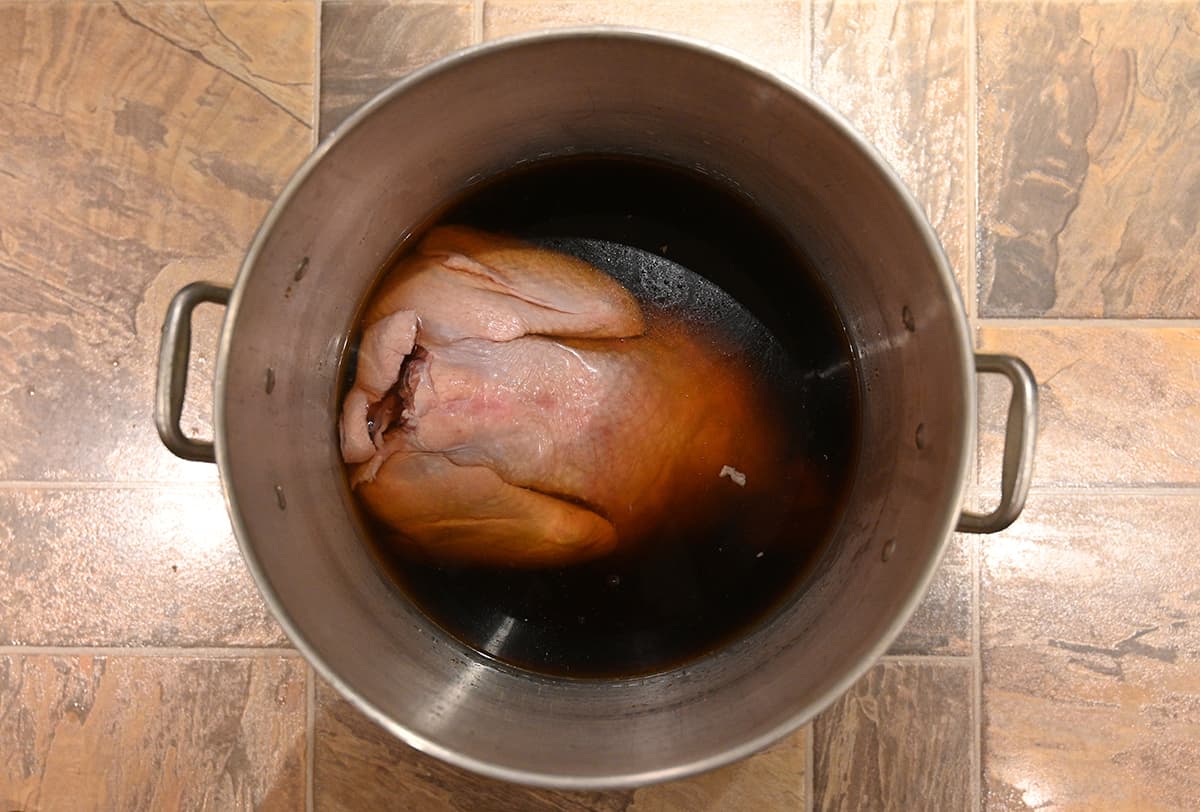
Prepping the brine was easy – you just dissolve dark brown sugar and kosher salt in hot water, then cool the mixture off by adding ice. We added a tiny bit of extra water to get better coverage of the turkey. The Alton Brown recipe talks about using a drink cooler, but we just used the pot from the turkey fryer.
I think the reason he calls for a drink cooler is that he uses it to keep his turkey cool while it soaks, but we have an extra fridge that we were able to take a shelf out of to fit the whole pot in. We worried about the weight a bit, but it was fine. We let our turkey soak in the brine from about 10:00 p.m. on Christmas Eve until about 2:00 p.m. on Christmas Day and then took it out, dried it thoroughly (another important step) and washed the pot.
The Deep-Frying Process
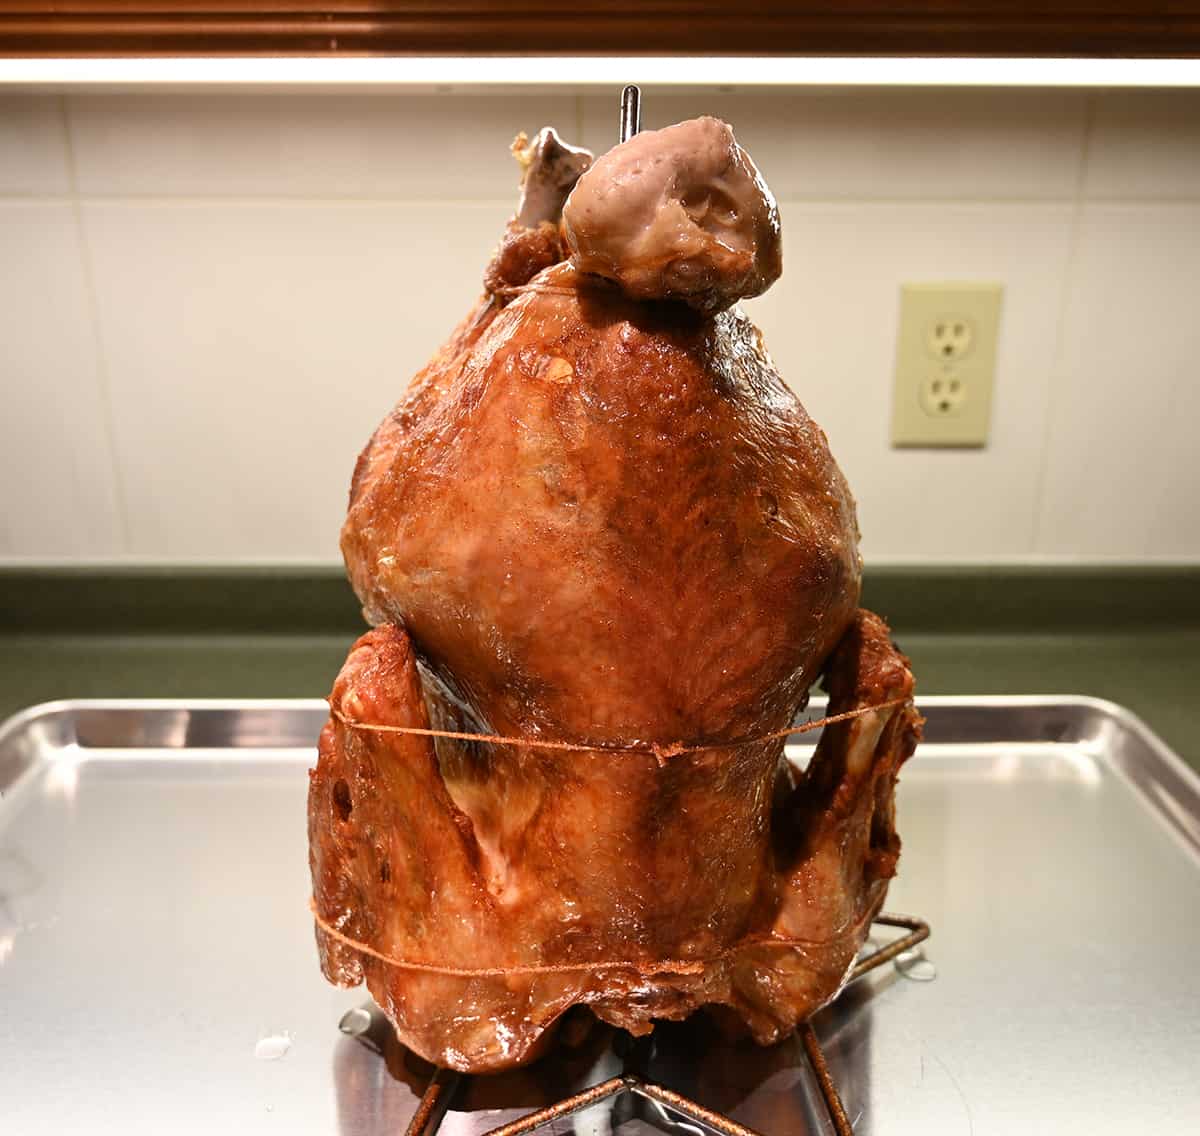
After all of the prep work was finished, the actual deep frying process was actually very easy. We brought the oil to 250 degrees Fahrenheit and lowered the turkey in. Despite it being a very warm Christmas Day (for Alberta) and the burner running full blast, our oil never did reach the target temperature of 350 degrees Fahrenheit.
At the end of the cook, it was at about 325. With that being the case, we were surprised when we raised the turkey out to do our first temperature check at 45 minutes and it was done – it measured around 160 degrees Fahrenheit at the breast. That’s a bit higher than what Alton Brown recommended, but we didn’t want to take a chance on an undercooked turkey! It does continue cooking after you remove it from the oil though.
The Final Verdict
Overall our turkey turned out great. It was super moist and flavorful. Was it worth the effort? I would say yes if you enjoy doing these types of things. It would be easier to do again now that we have all the equipment and know what we’re doing. I do wonder how it would have gone if it hadn’t been so warm outside on the day that we did it.
I’ll also tell you the cleanup was probably the worst part. We let our oil cool overnight and it ended up having a vaseline-like consistency, so it was easy to scoop out of the pot, but it was still a pain to clean everything up.
Nutrition
Calories
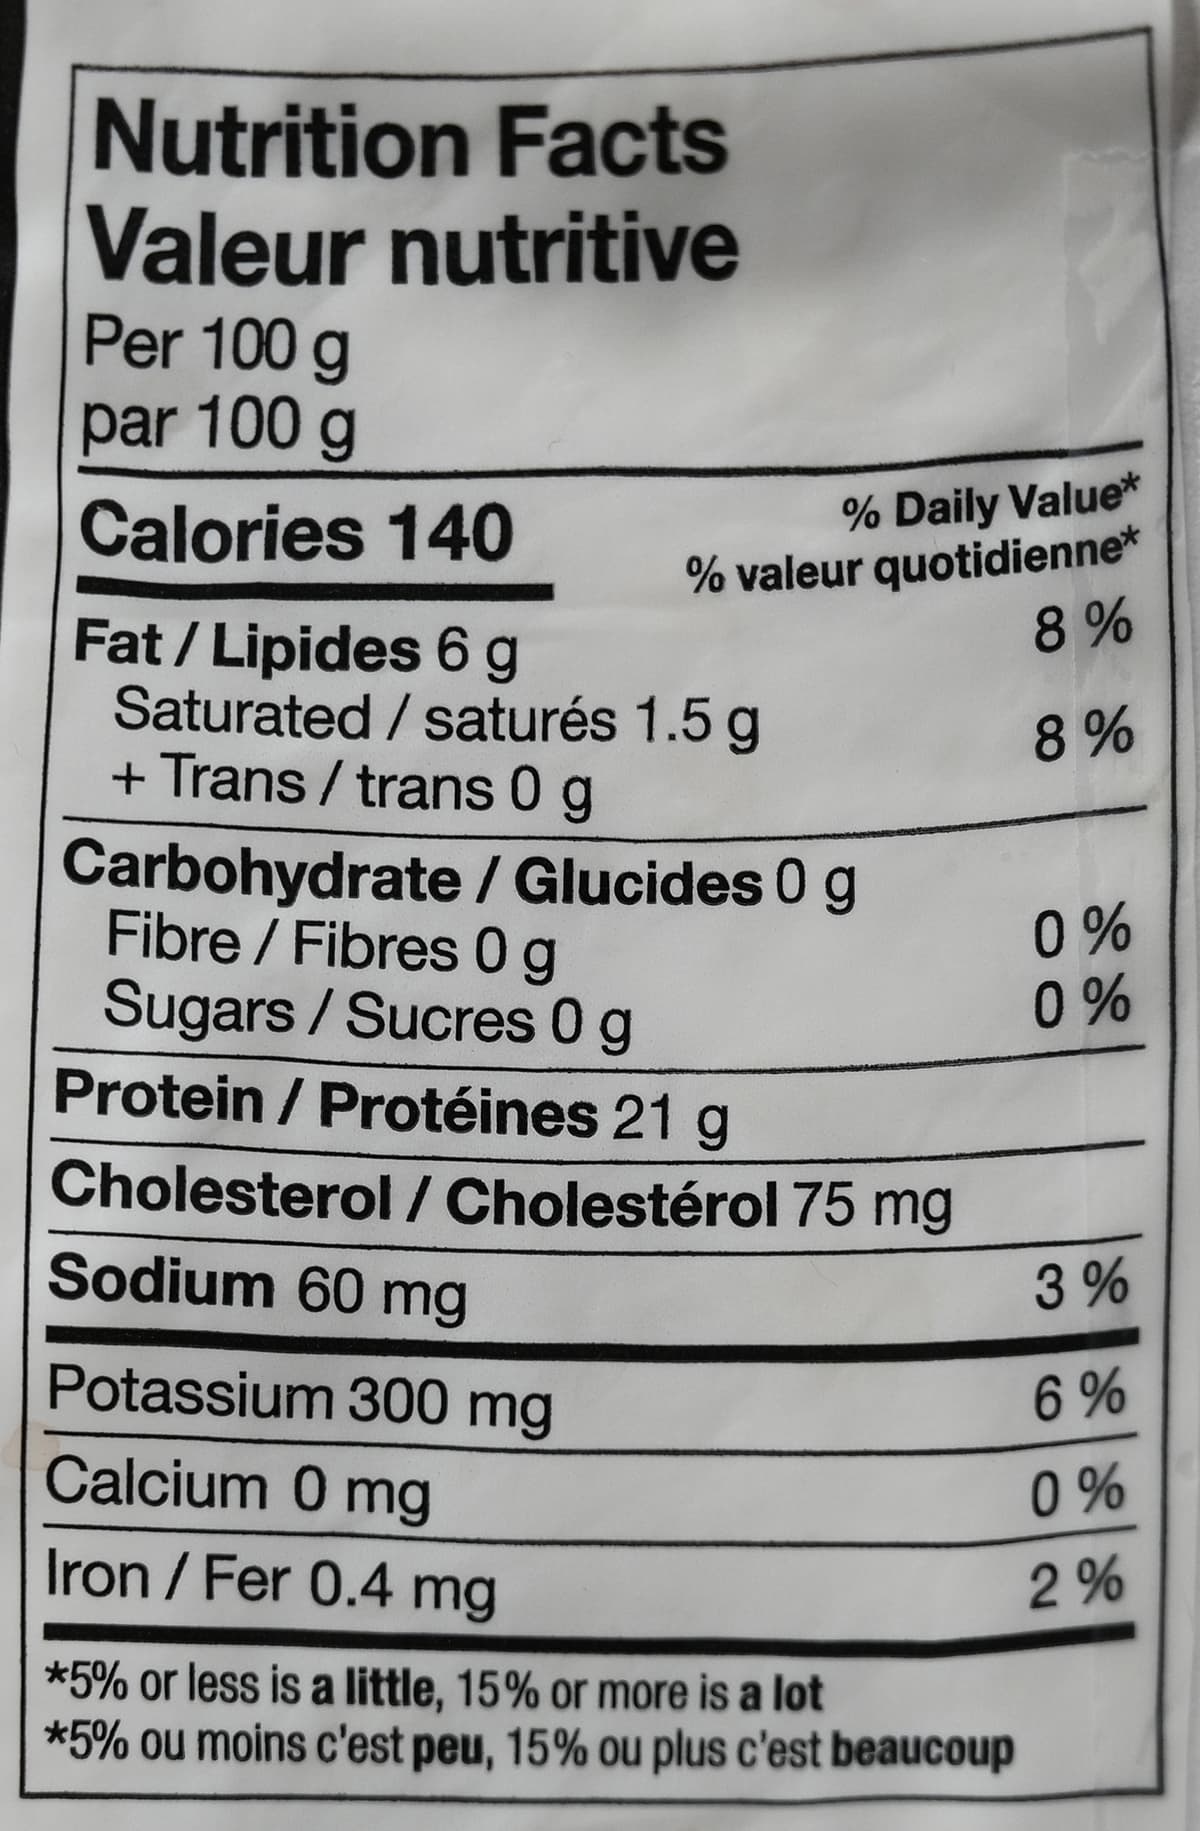
A 100-gram serving of turkey (without gravy) contains 140 calories, six grams of fat, zero grams of carbohydrates, fibre and sugar, 21 grams of protein and 60 milligrams of sodium. If you’re watching your fat intake, dark turkey meat has a bit more fat than white meat.
Ingredients
Turkey is a good source of protein and is also rice in vitamins and minerals. It’s leaner than other meat like beef too but still really high in protein. In case you didn’t know turkey has a bit lower cholesterol than chicken so it’s considered a healthy-healthy meat.
Scoring
Taste: 8/10
Cost: 8/10
Convenience: 0/10
Nutrition: 9/10
Overall
Give it a try!
If you need a turkey for Christmas, Easter or Thanksgiving we really liked the Costco Kirkland Signature Fresh Turkey and would buy it again.
Have you tried the Costco Kirkland Signature Fresh Turkey? What did you think of them? Drop a comment below!
Please note that this review was not paid for or sponsored by any third party. This product was purchased by Costcuisine for the purpose of producing this review. The opinions in this review are strictly those of Costcuisine. Costcuisine is not affiliated with Costco or any of its suppliers. In the event that Costcuisine receives compensation for a post from the manufacturer of a product or some other third party, the arrangement will be clearly disclosed (including where the manufacturer of a product provides Costcuisine with a free sample of the product).


Great advice! Can’t wait to try this out myself.https://www.costcuisine.com/post/costco-kirkland-signature-fresh-turkey-review tnx
So interesting to read about your process deep frying the turkey. Thanks for sharing. I always enjoy your reviews.
Thanks for reading! I appreciate it!